Course Introduction Settings: Custom Mode
The course introduction is the information displayed to students when they access the course detail page. Administrators can set this information in the course introduction section. There are two ways to configure the course introduction: Basic Mode and Custom Mode, which can be selected accordingly.
- This manual provides a guide to 'Course Introduction Settings: Custom Mode'.
- Course introductions can be entered in either 'Basic Mode' or 'Custom Mode'. This feature can be set after entering the Course Introduction tab and clicking the button in the upper right corner.
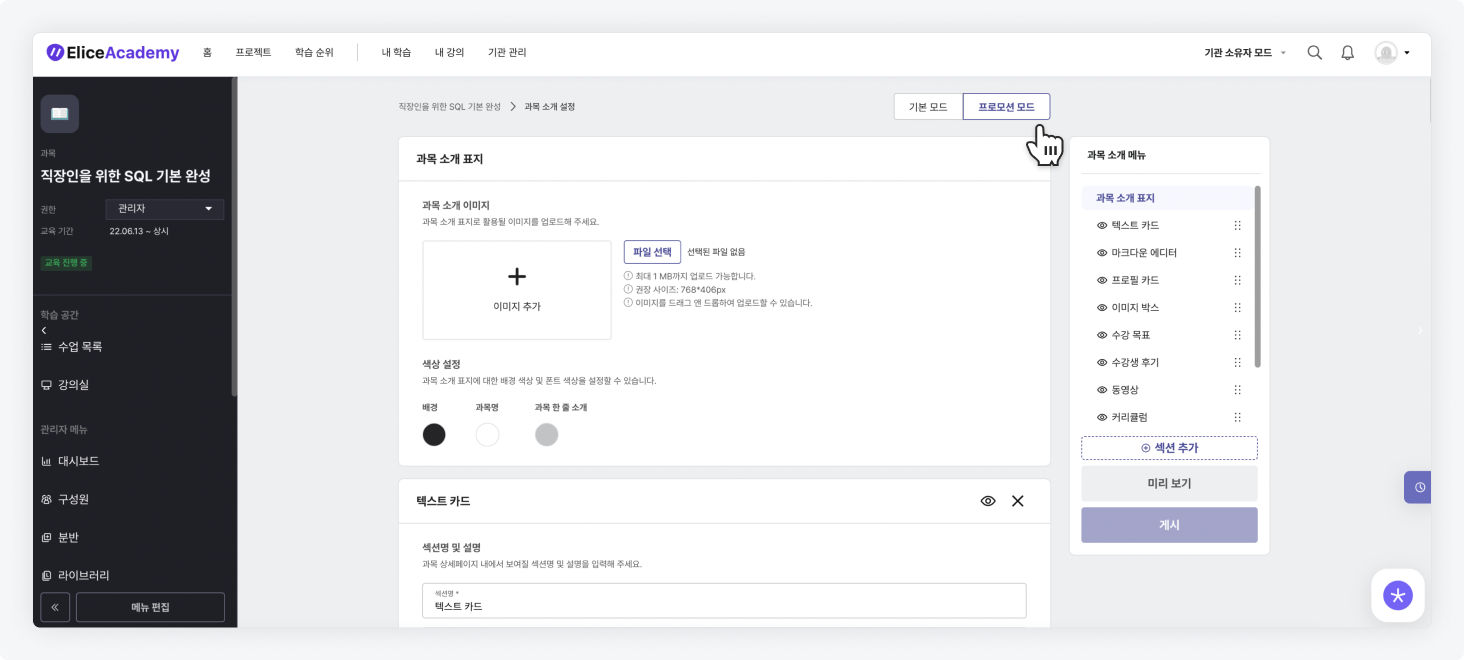
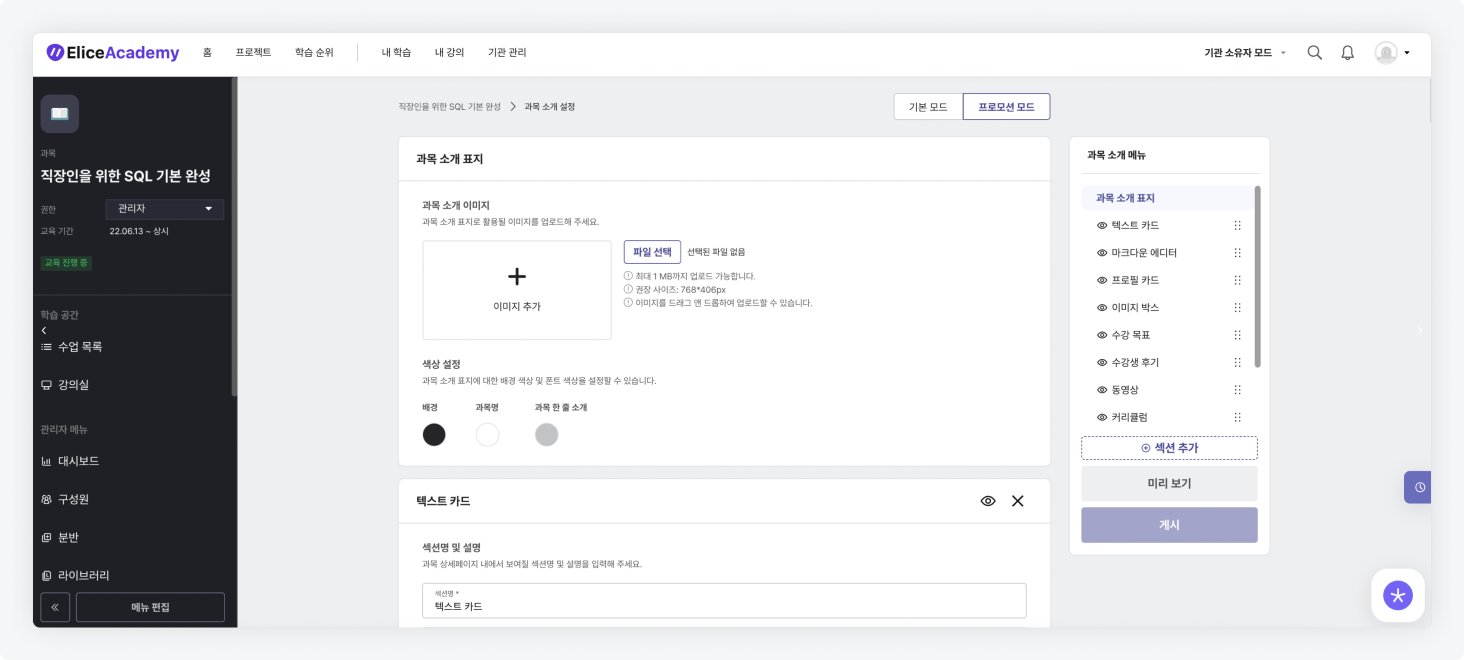
- In 'Custom Mode', the content section where information can be entered is categorized as follows:
- Basic Section
- Course Introduction Cover: You can upload a representative image to promote the course.
- Promotion Information: You can set how to display promotion information.
- Advertisement Banner: You can upload a small advertisement banner image that will be displayed on the course detail page.
- Custom Section
- The 'Custom Section' allows for greater flexibility compared to the 'Basic Section', including rearranging sections, hiding/showing sections, and deleting them. (You can add up to 30 custom sections through the 'Add Section' button.)
- Text Card: You can enter promotional information for the course in a text card format.
- Markdown Editor: You can use the Markdown editor to input promotional information for the course.
- Profile Card: You can enter promotional information for the course in a profile card format.
- Image Box: You can upload supplementary images for course promotion.
- Learning Goals: You can write information about learning goals.
- Student Reviews: You can write ratings and reviews from students about the course.
- Videos: You can upload a URL for promotional videos related to the course.
- Curriculum: You can upload the course curriculum.
- FAQ: You can create an FAQ section.
- The 'Custom Section' allows for greater flexibility compared to the 'Basic Section', including rearranging sections, hiding/showing sections, and deleting them. (You can add up to 30 custom sections through the 'Add Section' button.)
- Basic Section
Course Introduction Cover
- Navigate to Settings > Course Introduction.
- Insert the image file to be used as the course introduction cover. (If you do not upload a course introduction cover, you can specify a background color as an alternative.)
- You can set the colors for the course name and the one-line introduction that will be displayed alongside the cover.
- The course name and one-line introduction can be entered/modified in Settings > Basic Information.
- The entered values will appear on the course detail page as follows.

Inputting Course Detailed Information by Section
Common functionality guide for custom sections
- You can set the visibility of each custom section to public/private.
1-1. When public, information in the section will be displayed on the course detail page, while it will not be shown if set to private.

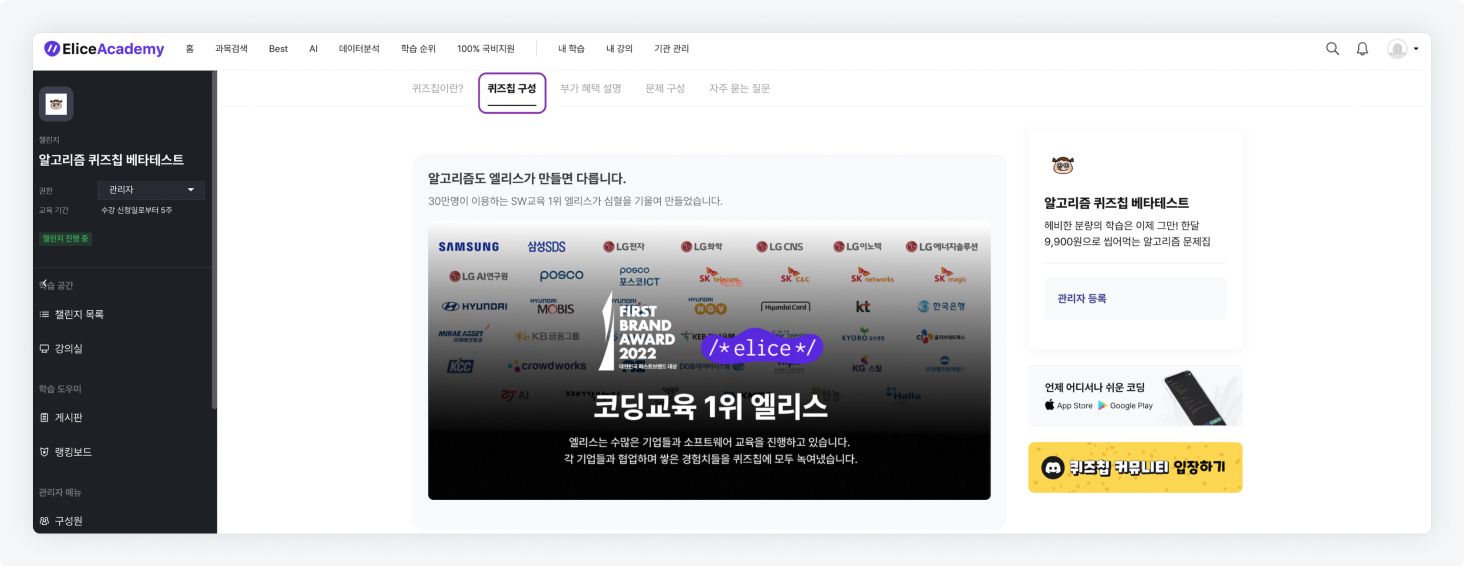
- You can set the 'Anchor Usage' for each custom section.
2-1. If you enable anchor usage and input an anchor name, the entered anchor name will appear as a navigation button to the corresponding section within the course detail page.

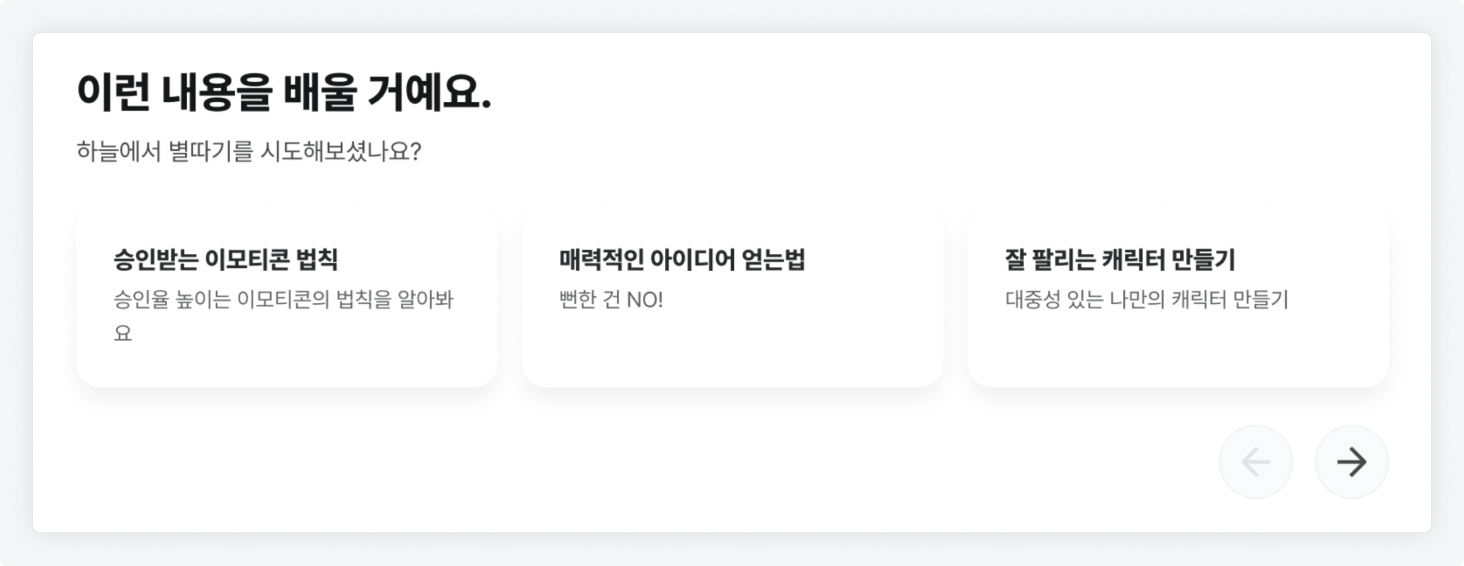
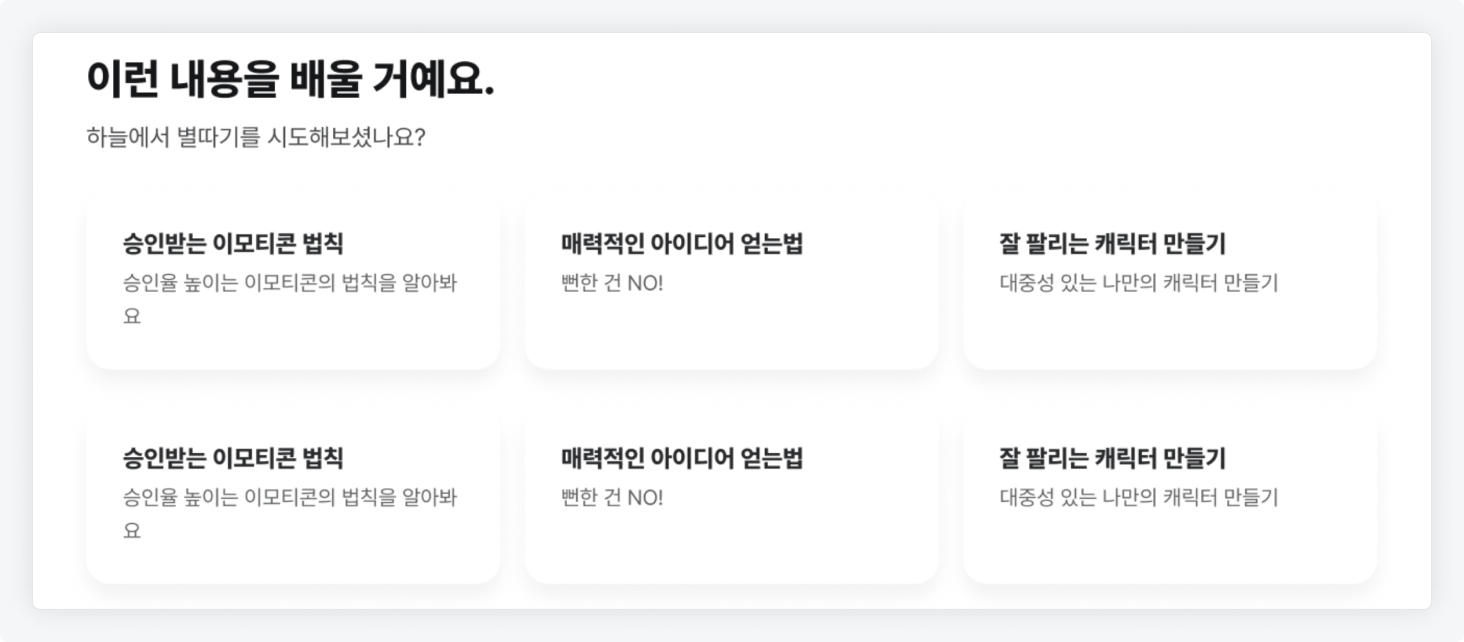
- You can set the 'Content Arrangement' for each custom section.

3-1. Example of 'Horizontal Arrangement'
3-2. Example of 'Vertical Arrangement'
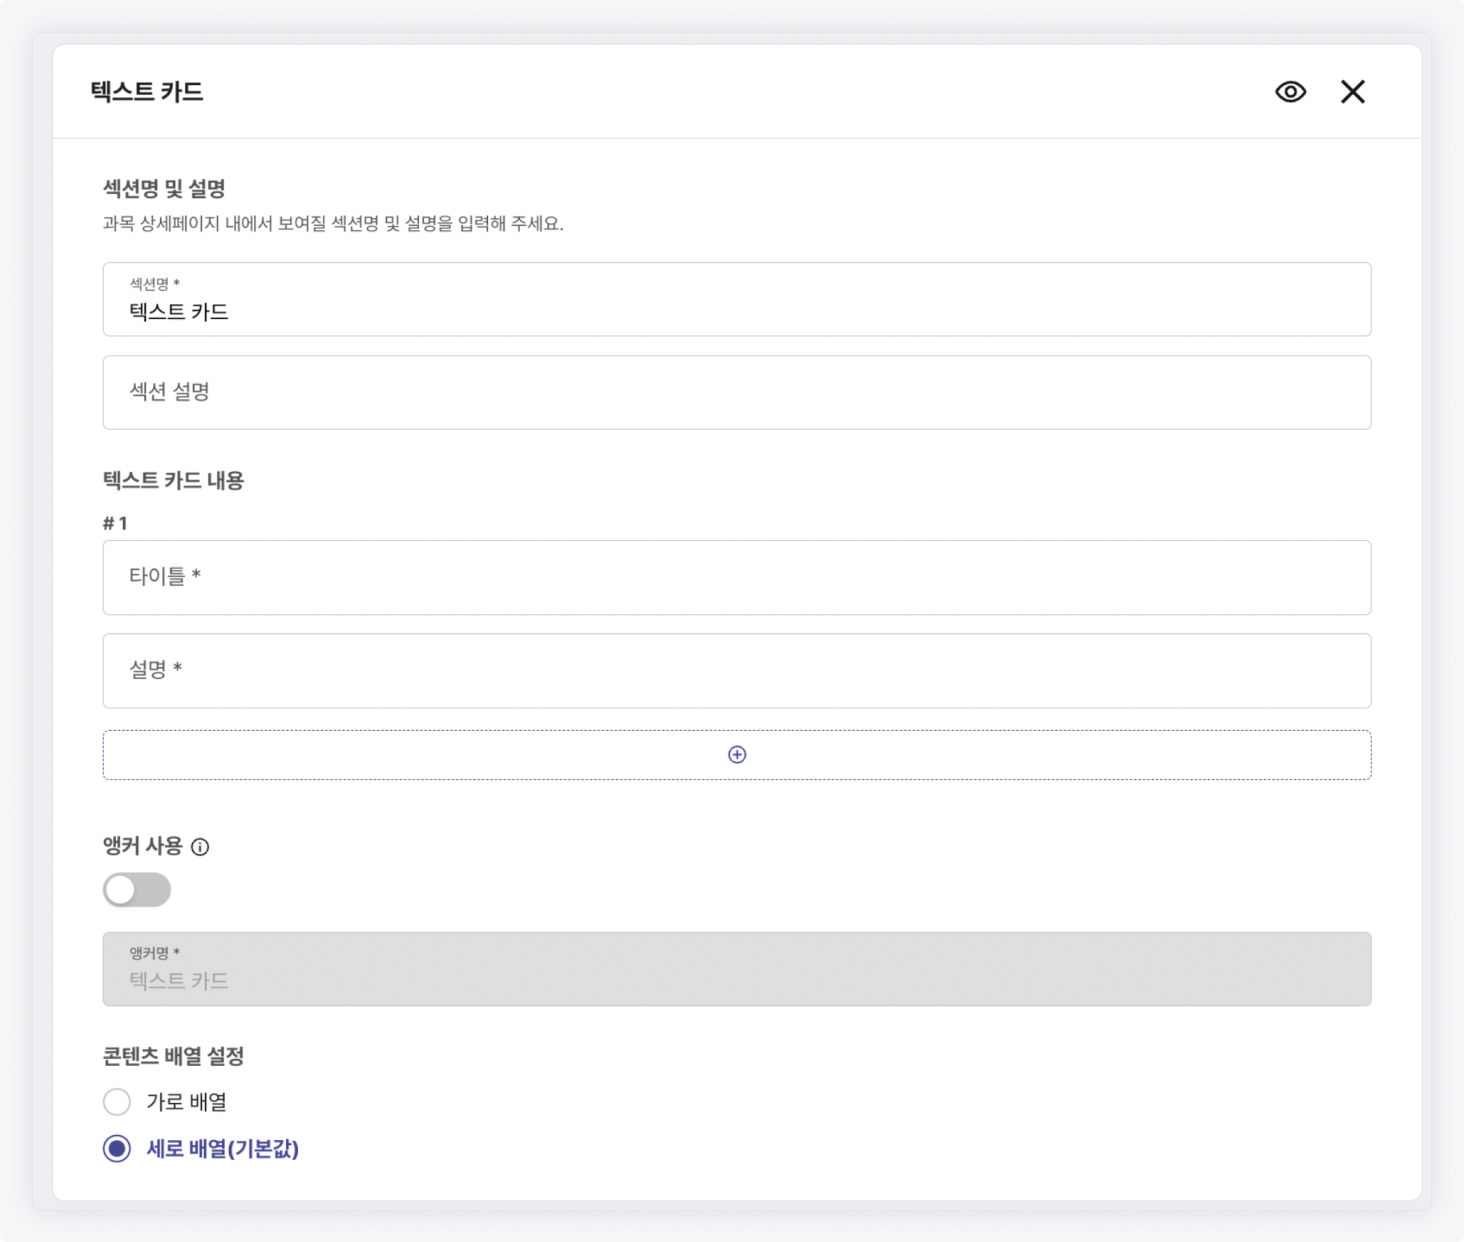
Text Card
- Enter the 'Section Name' and 'Section Description' for the text card section.
- Input the 'Title' and 'Description' for the text card content. To add an additional writing area, click the ⊕ button.
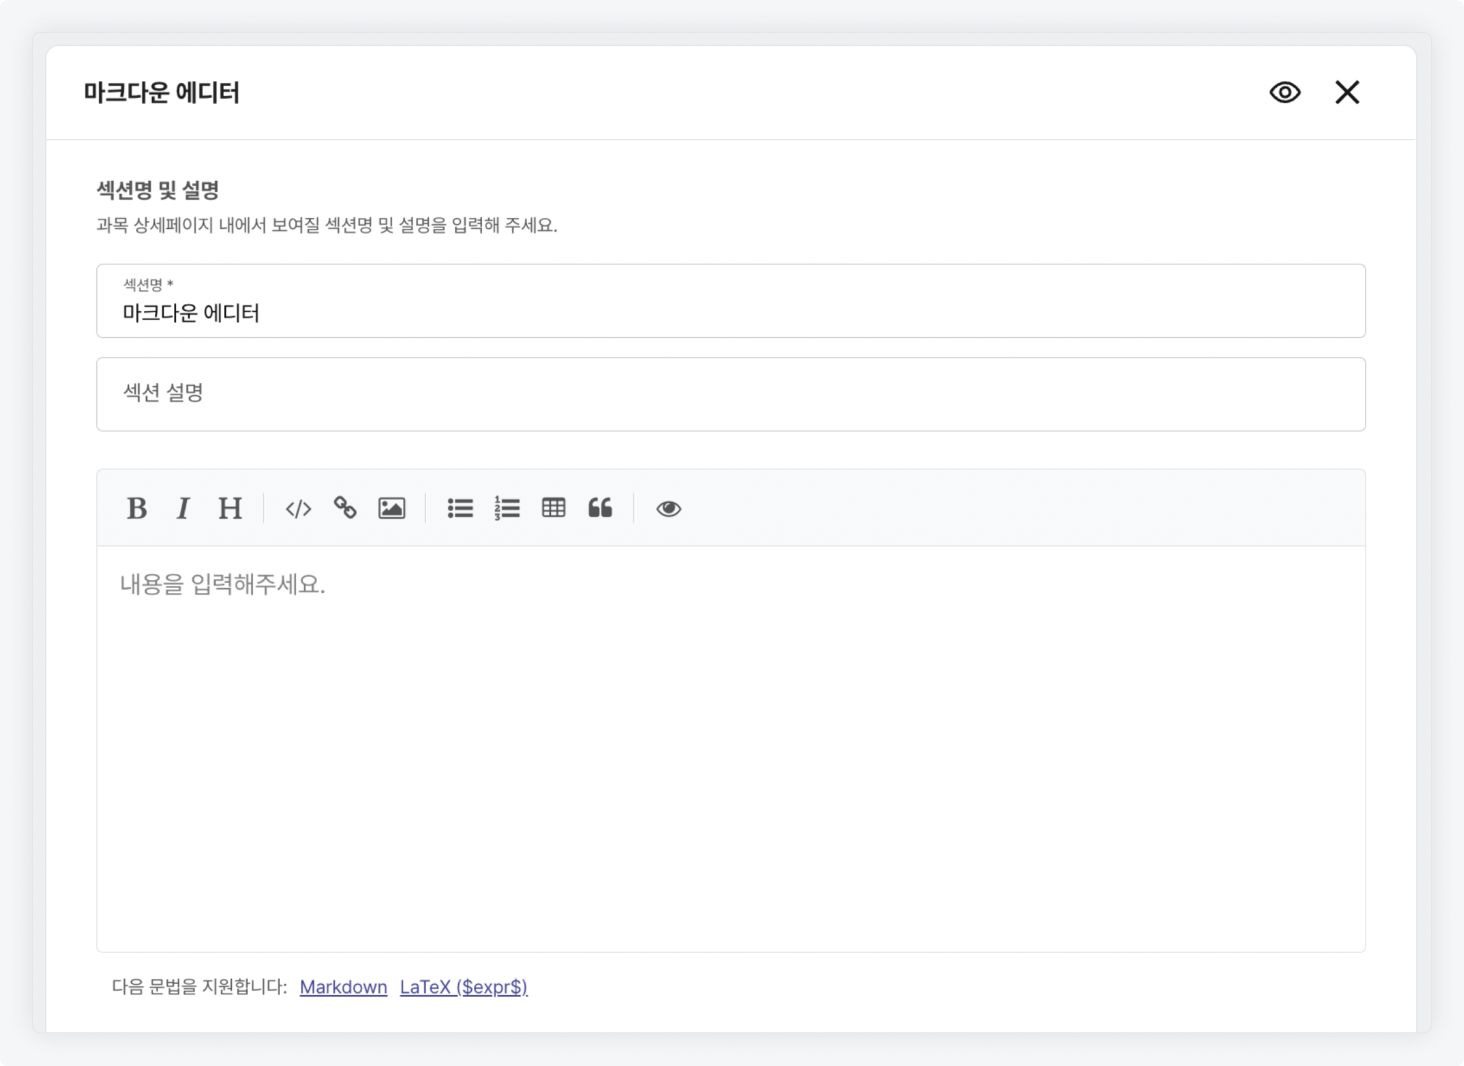
Markdown Editor
- Enter the 'Section Name' and 'Section Description' for the Markdown editor section.
- Use the Markdown editor to freely compose the information you want to display in this section.
Profile Card
- Enter the 'Section Name' and 'Section Description' for the profile card section.
- Select the 'Profile Image' for the profile card content and input the 'Title' and 'Description'. To add an additional writing area, click the ⊕ button.
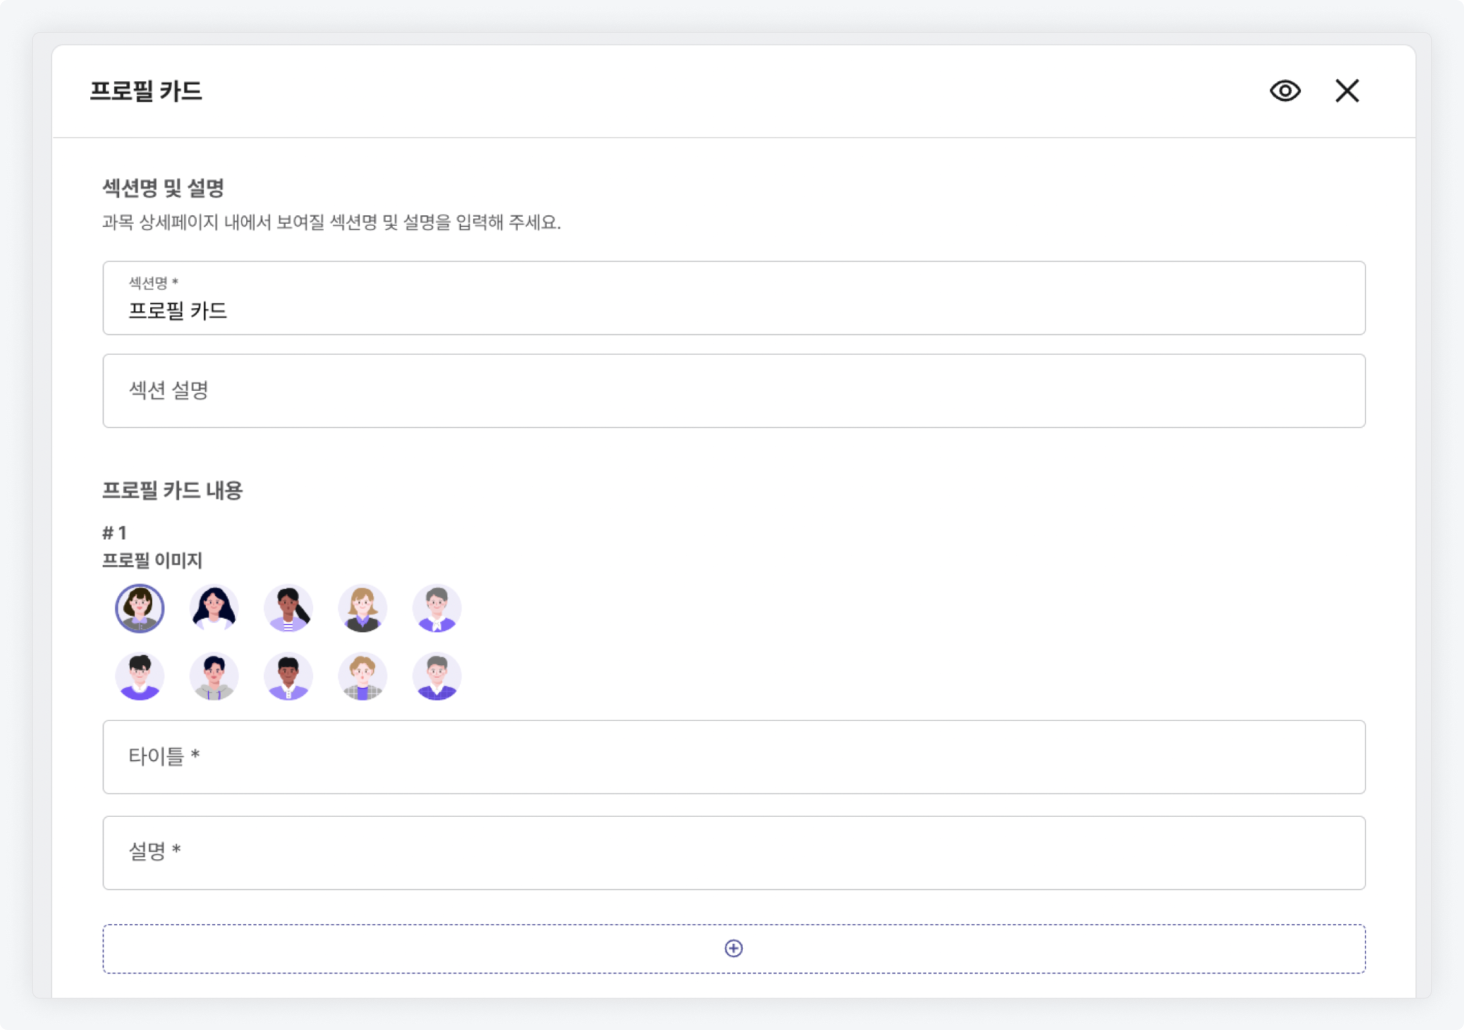
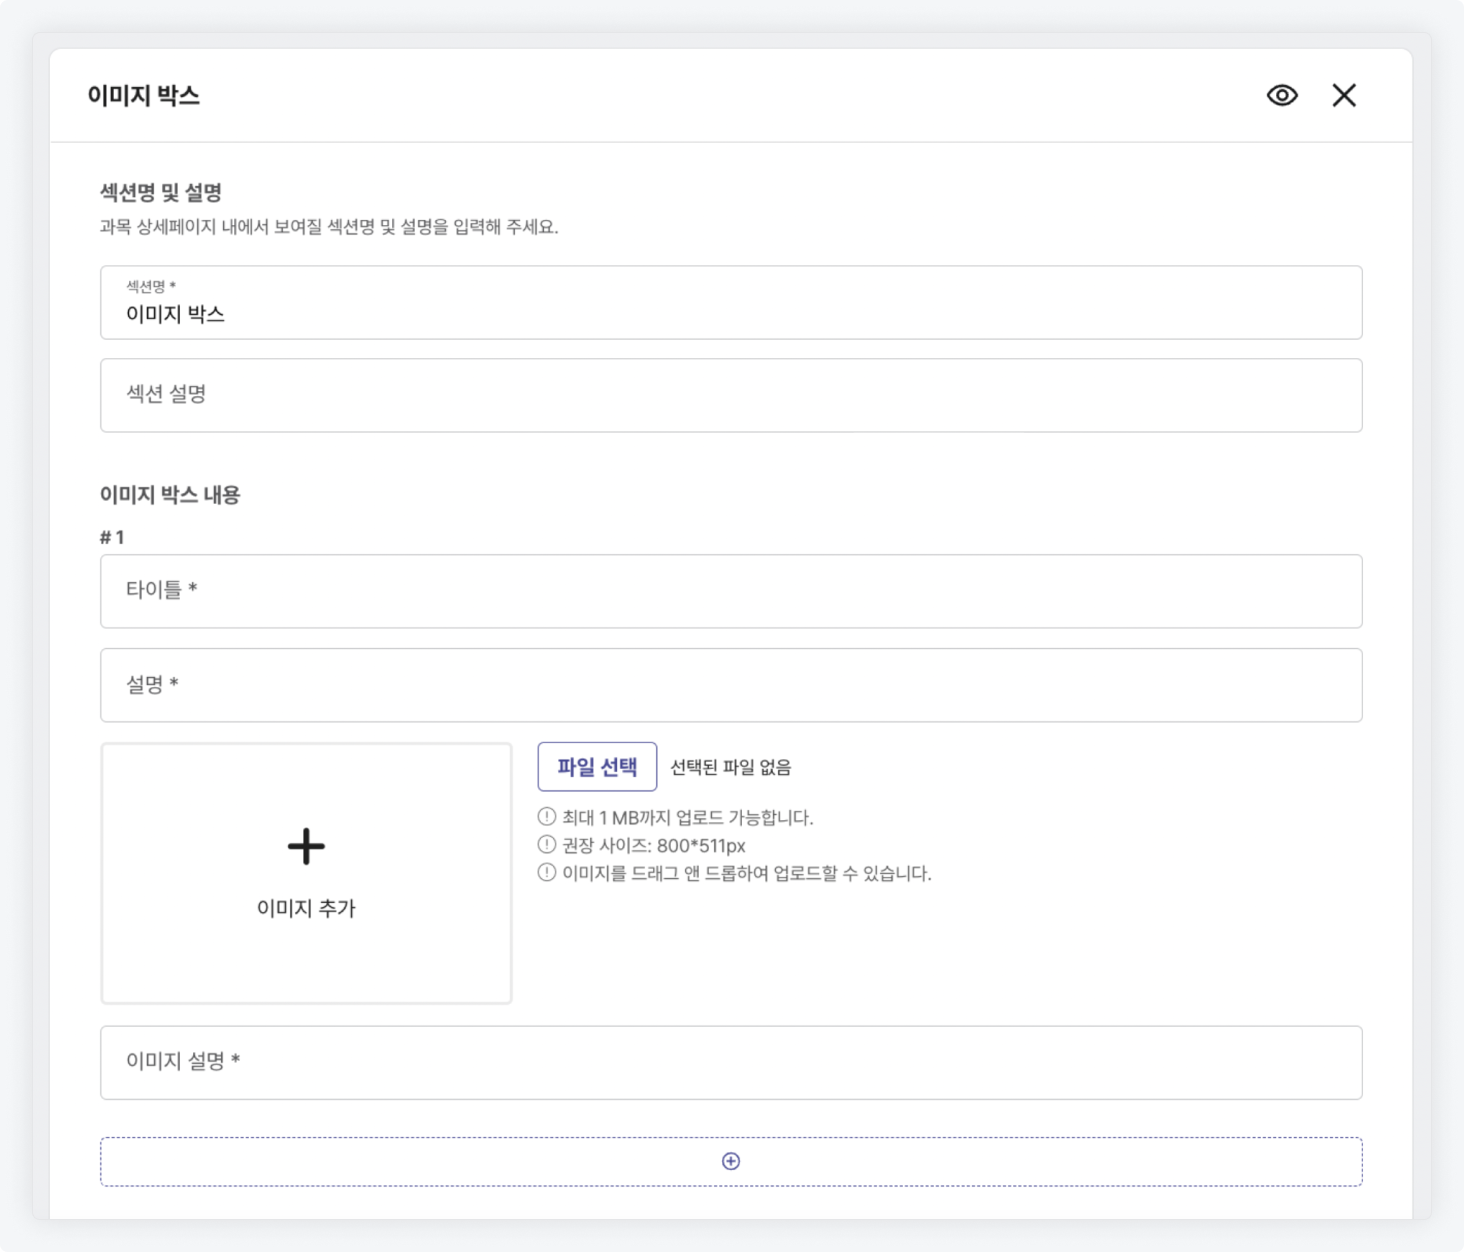
Image Box
- Enter the 'Section Name' and 'Section Description' for the image box section.
- Upload the 'Image' for the image box content and input the 'Title', 'Description', and 'Image Description'. To add an additional writing area, click the ⊕ button.
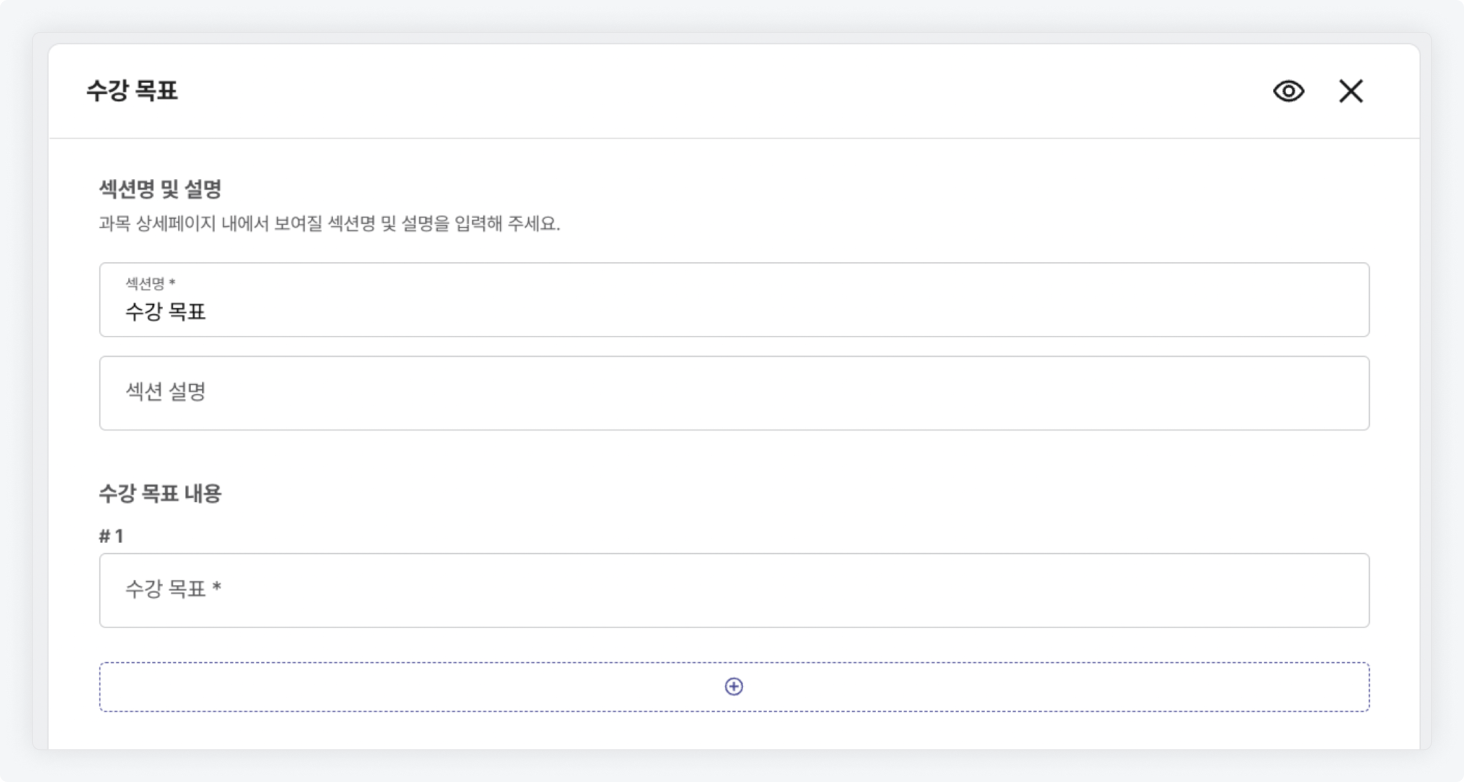
Learning Goals
- Enter the 'Section Name' and 'Section Description' for the learning goals section.
- Input the 'Learning Goals' content. To add an additional writing area, click the ⊕ button.
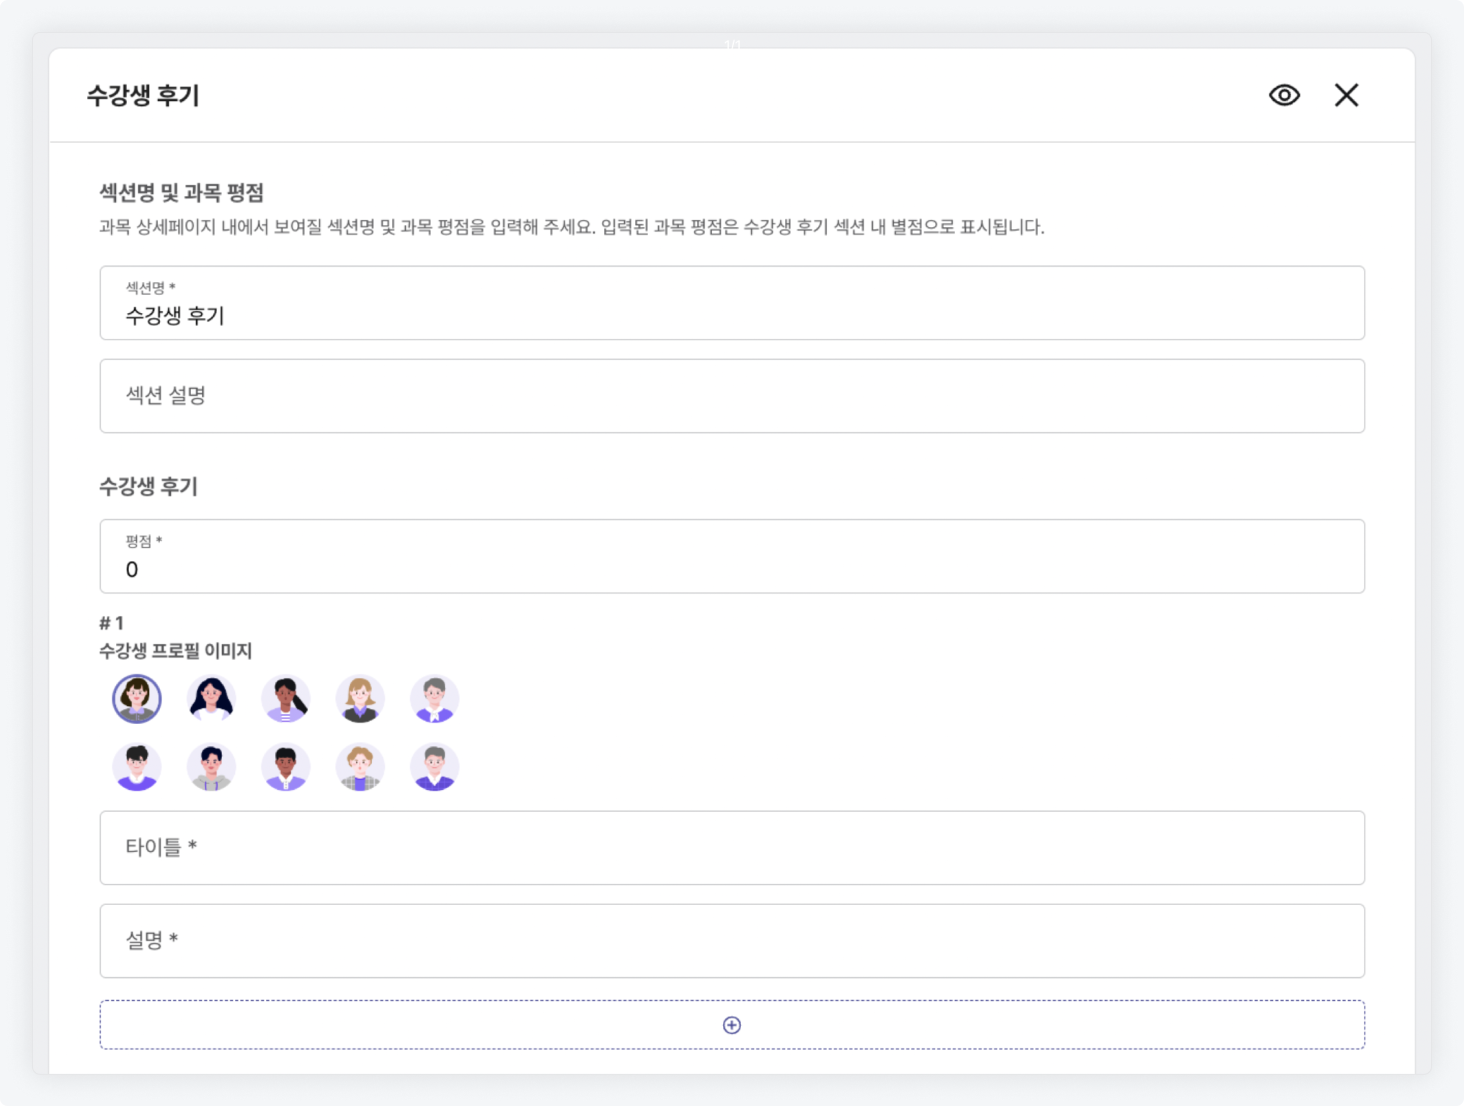
Student Reviews
- Enter the 'Section Name' and 'Section Description' for the student reviews section.
- Input the rating for 'Student Reviews'. Only numbers from 0 to 5 can be entered, and it will appear as a star rating on the course detail page.
- Select an 'Image' for the student review and input the 'Title' and 'Description'. To add an additional writing area, click the ⊕ button.
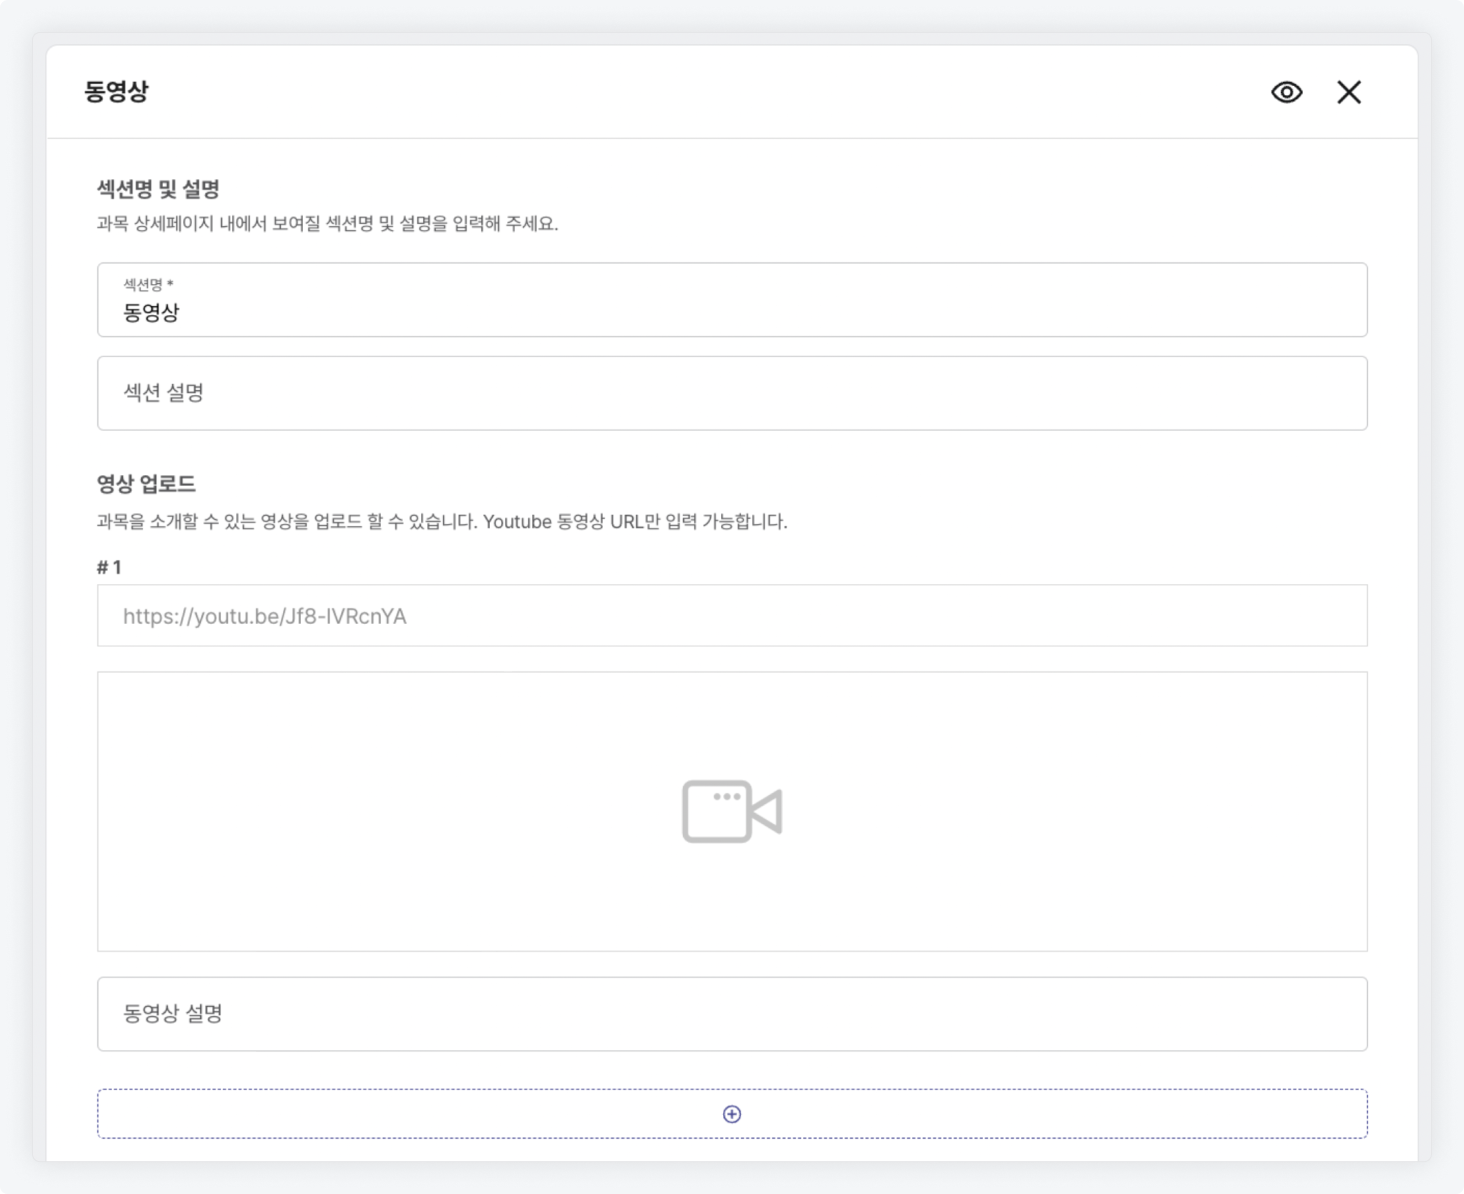
Video
- Enter the 'Section Name' and 'Section Description' for the video section.
- In the video upload section, input the 'YouTube URL' and 'Video Description'. To add an additional writing area, click the ⊕ button.
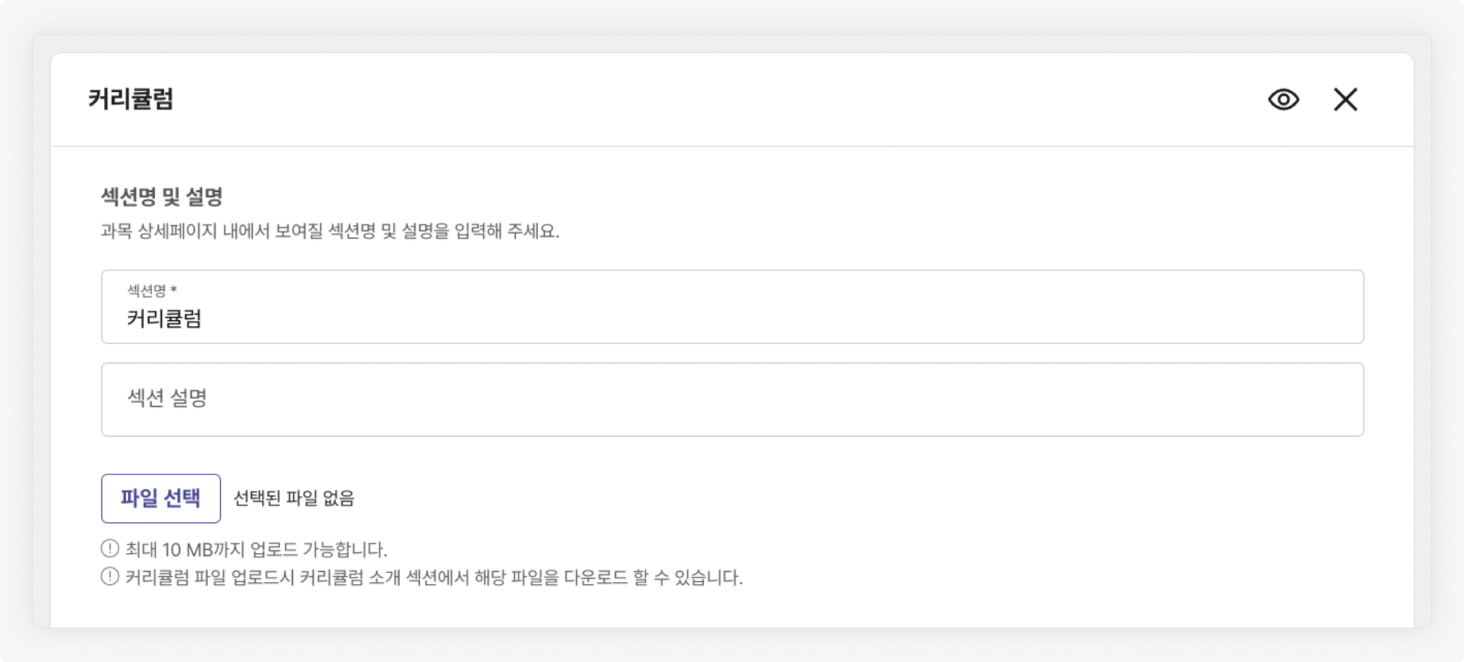
Curriculum
- Enter the 'Section Name' and 'Section Description' for the curriculum section.
- Upload the curriculum file in PDF format.
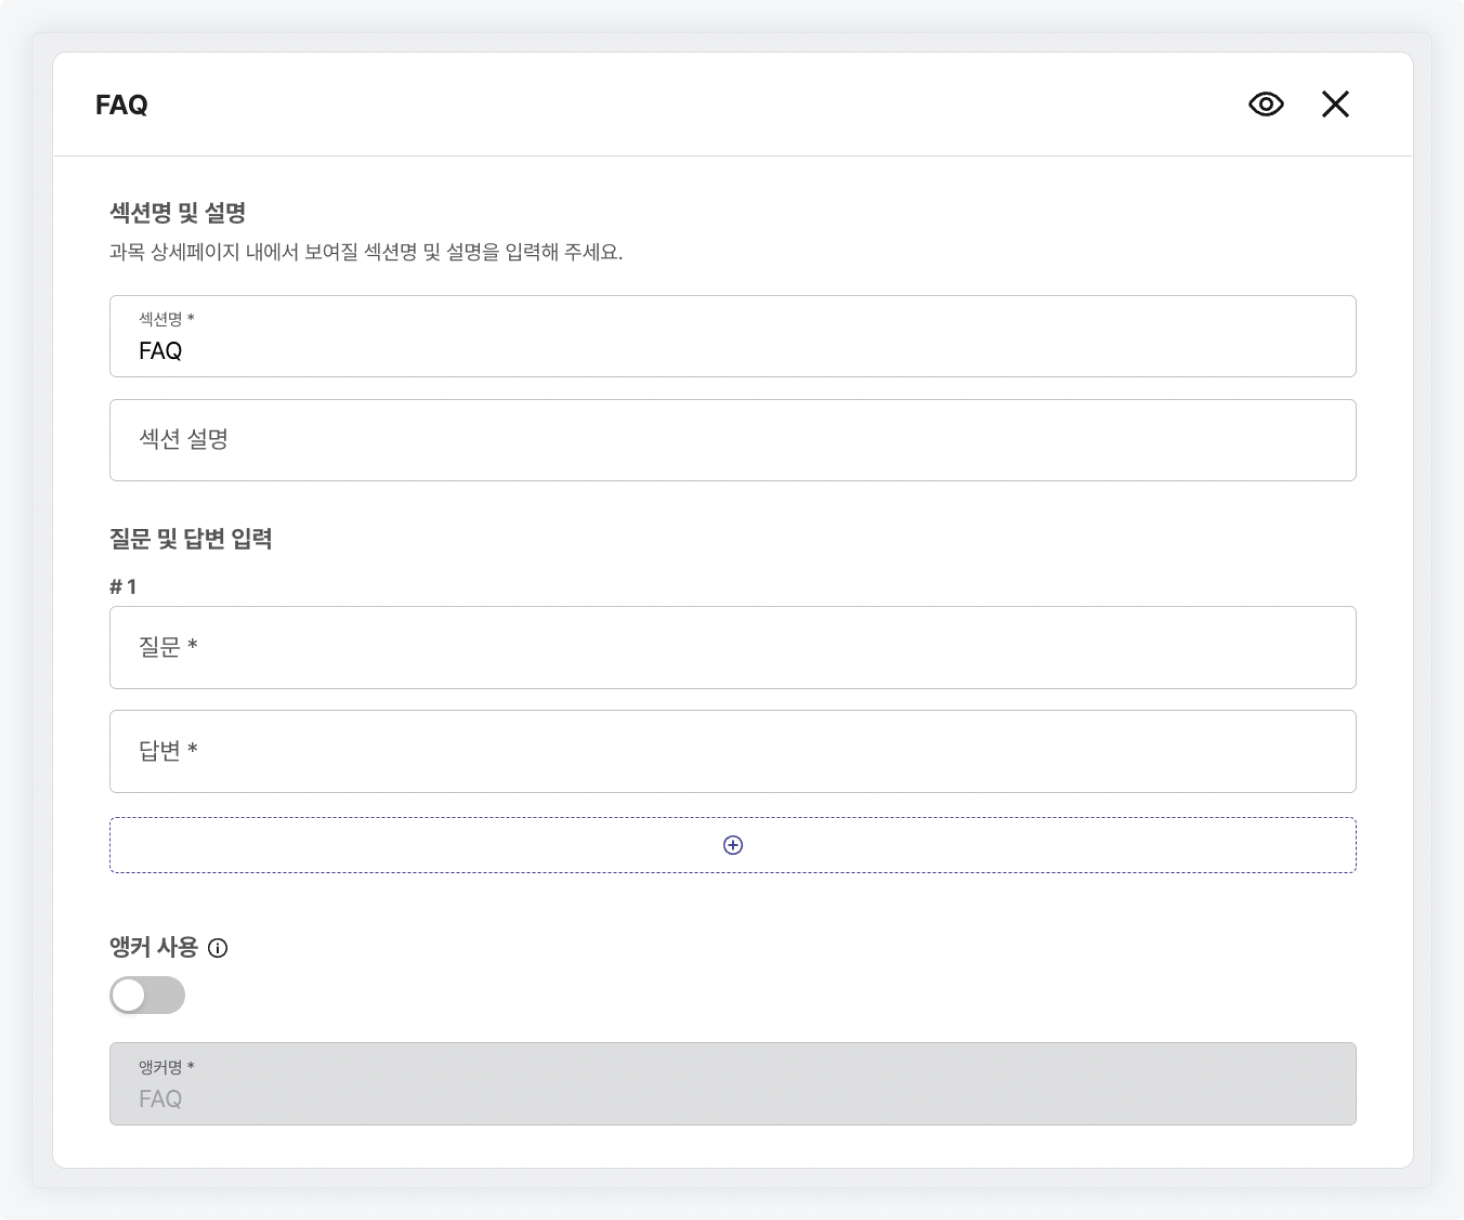
FAQ
- Enter the 'Section Name' and 'Section Description' for the FAQ section.
- Input the 'Question' and 'Answer' in the question and answer input areas. To add an additional writing area, click the ⊕ button.
Preview Feature
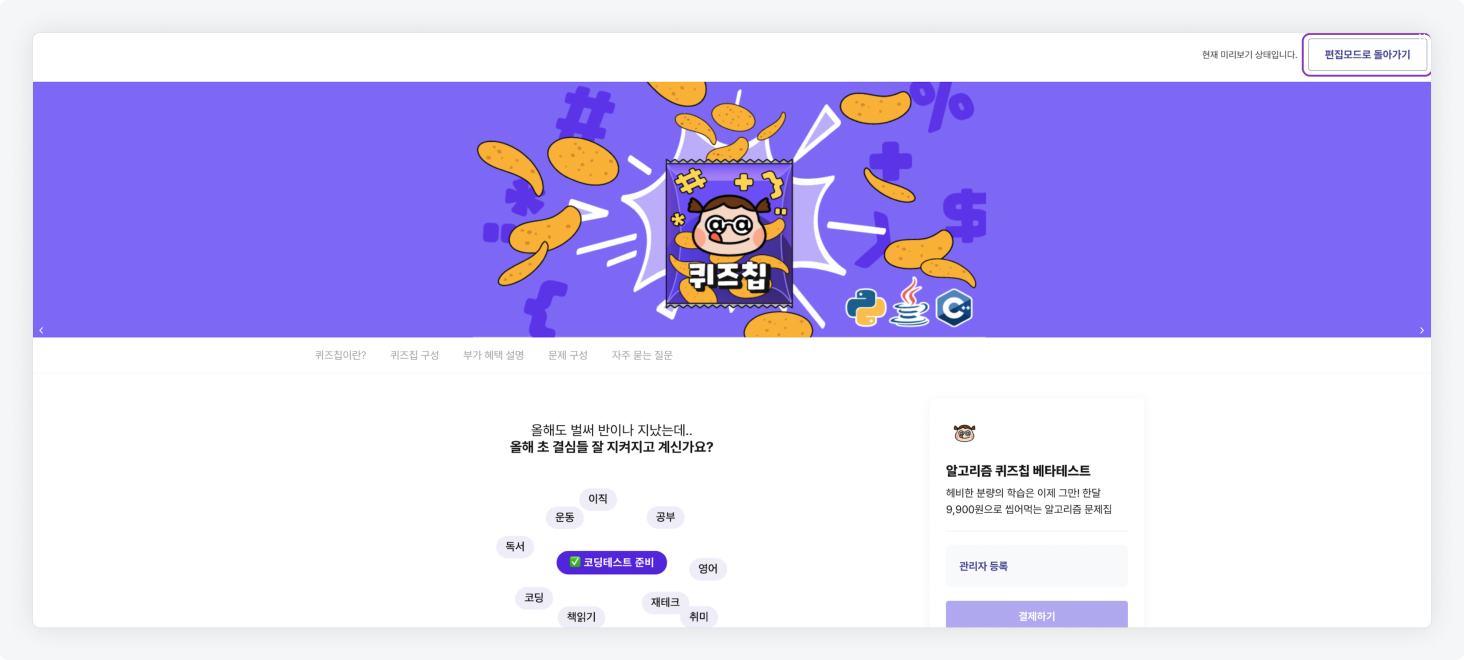
- In the course introduction settings: Promotion Mode, a 'Preview' feature is available for the content you are currently writing.
- You can switch to preview mode by clicking the 'Preview' button in the right menu box.
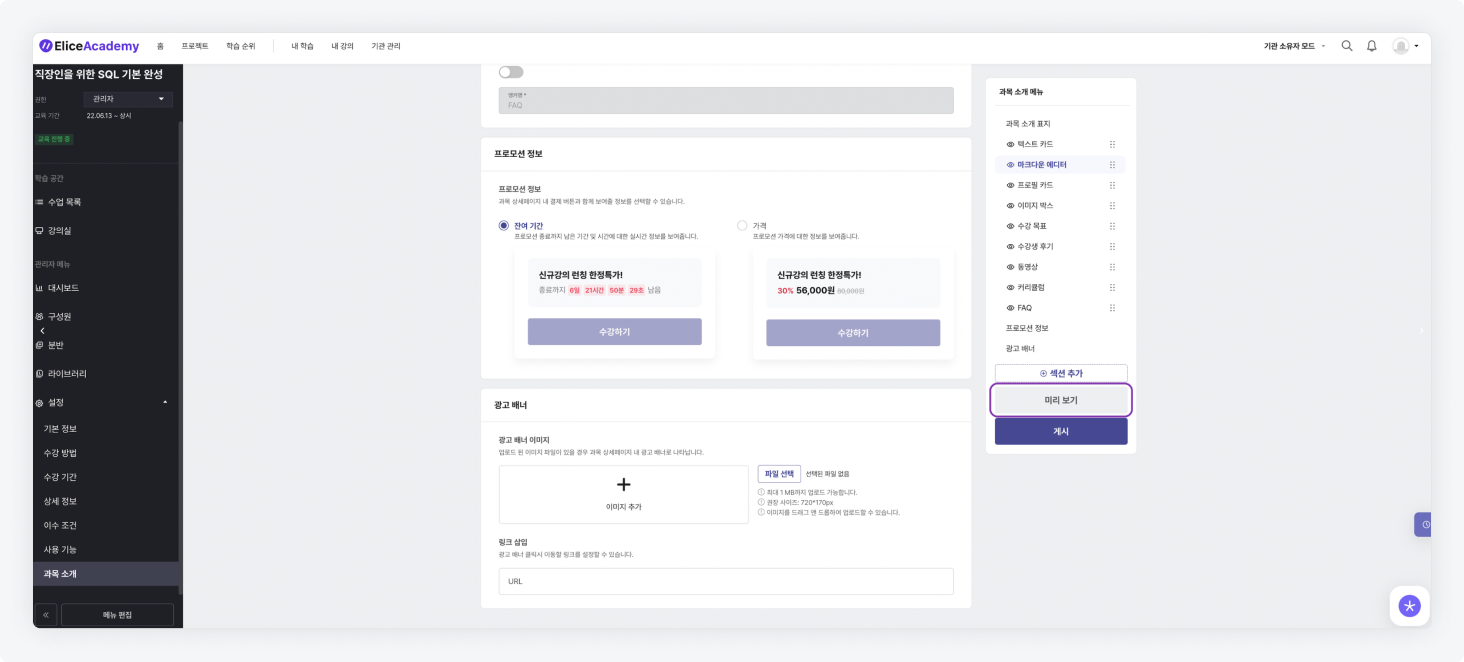
- In preview mode, clicking the 'Return to Editing Mode' button will take you back to the editing mode.
